When the drone gets to the first point of the mission it will hover in place and take a sample image.
Shortly, the image will appear on the screen.
Then, you will need to approve the image or change its brightness if it needs any adjustments.
This step is important because it gives you an example of how the images from the mission will look.
If the photo is bright and clear, just click the Let's Fly button and the drone will start flying and taking images.
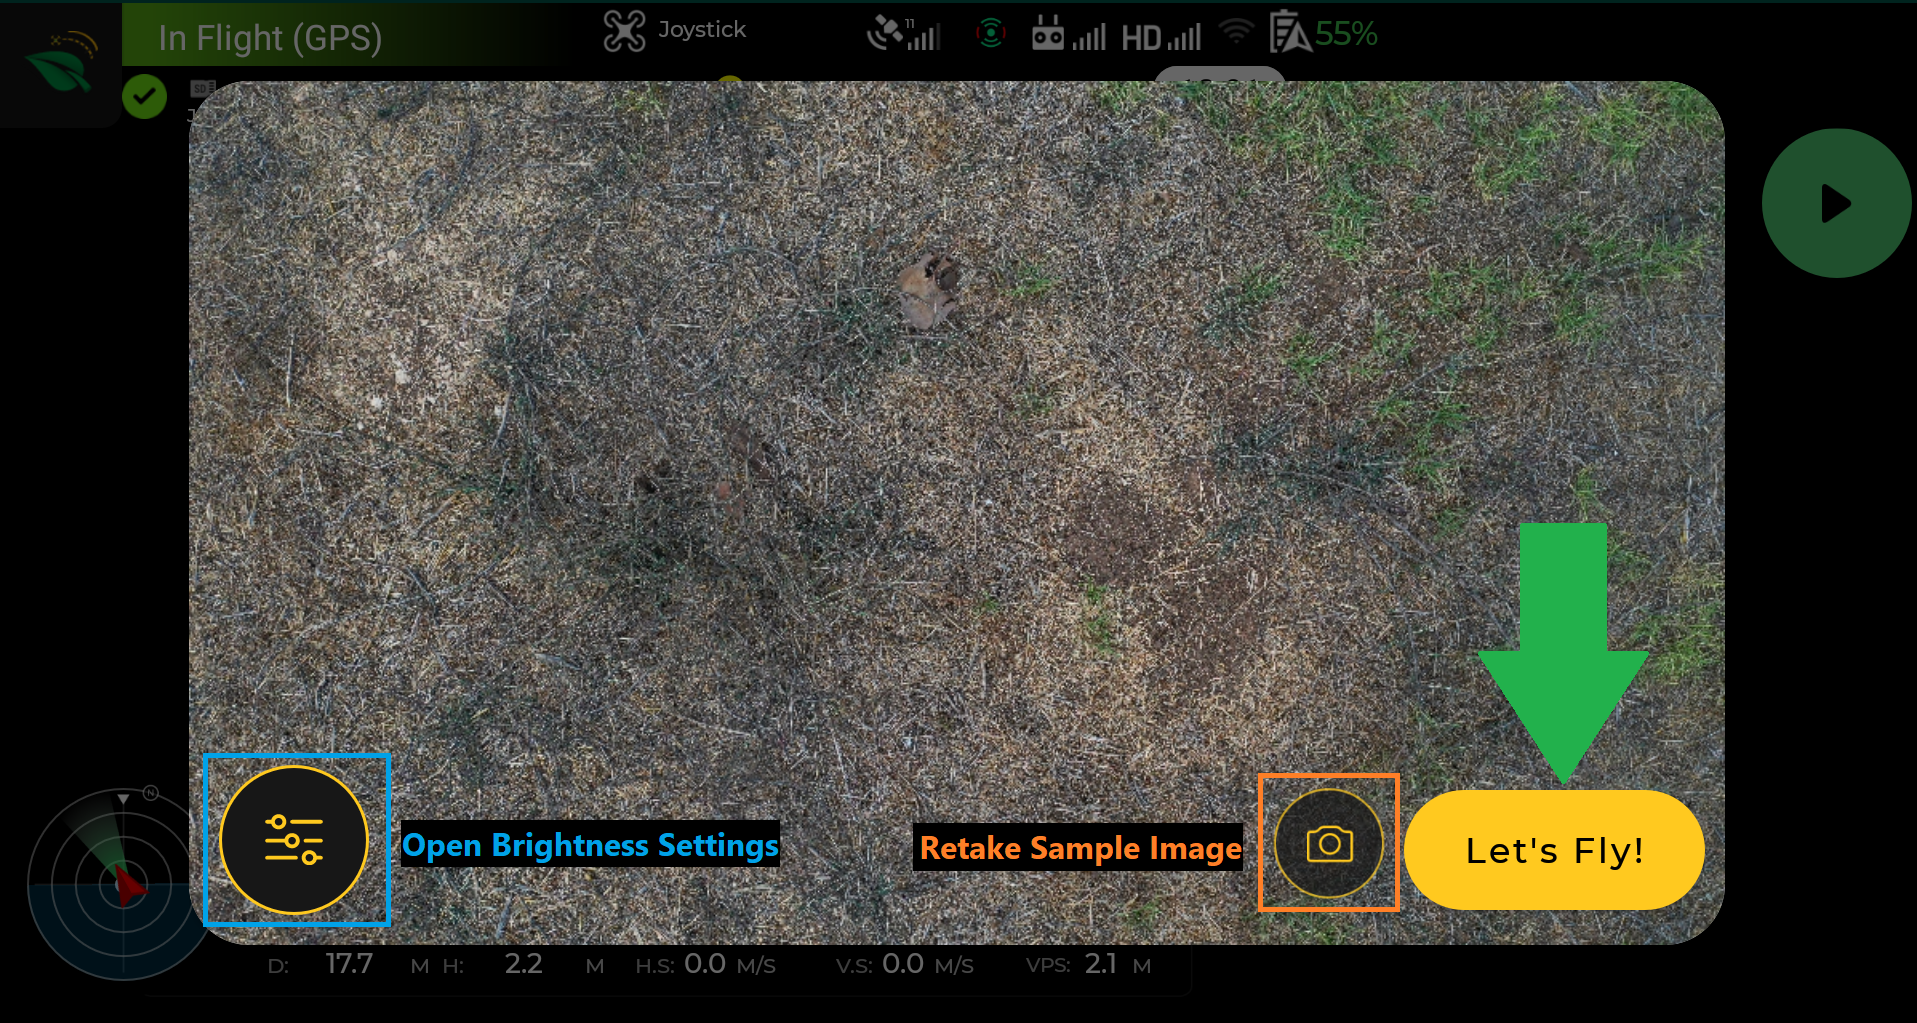
Most of the time, the default settings will give you the best results but if it's very cloudy or sunny, you might need to change the brightness:
Click the settings button to open the brightness slider.
Increase or decrease the brightness, one step at a time by clicking on one of the brightness values. Wait till the new sample image is displayed.
Once you are satisfied you can click the Let's Fly button to start the mission.
The brightness settings you set will be kept for the rest of the mission.
At any time during the mission, you can click the Pause button on the app, click the Camera button, and change the settings again. 