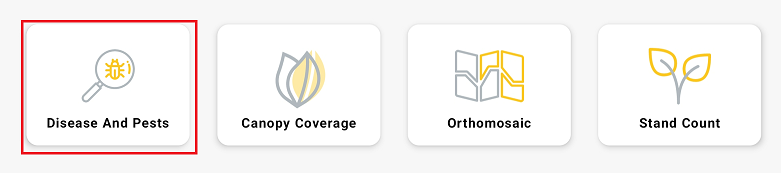
Select the "Disease And Pests" mission.
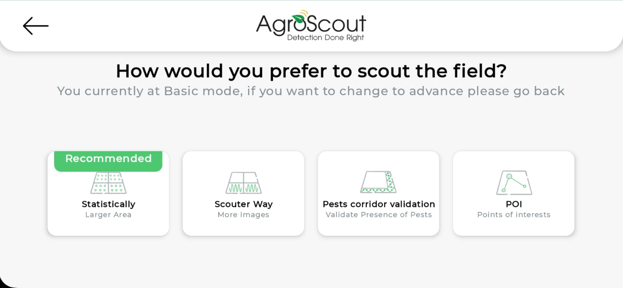
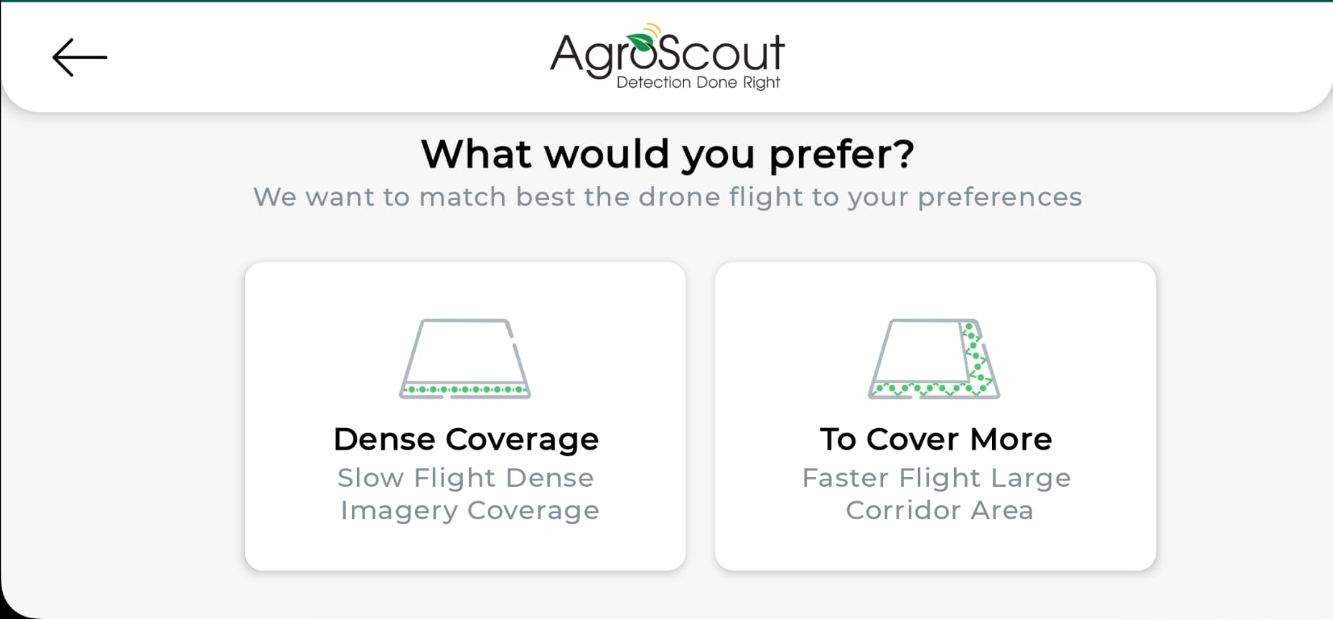
Select the pattern you want for monitoring:
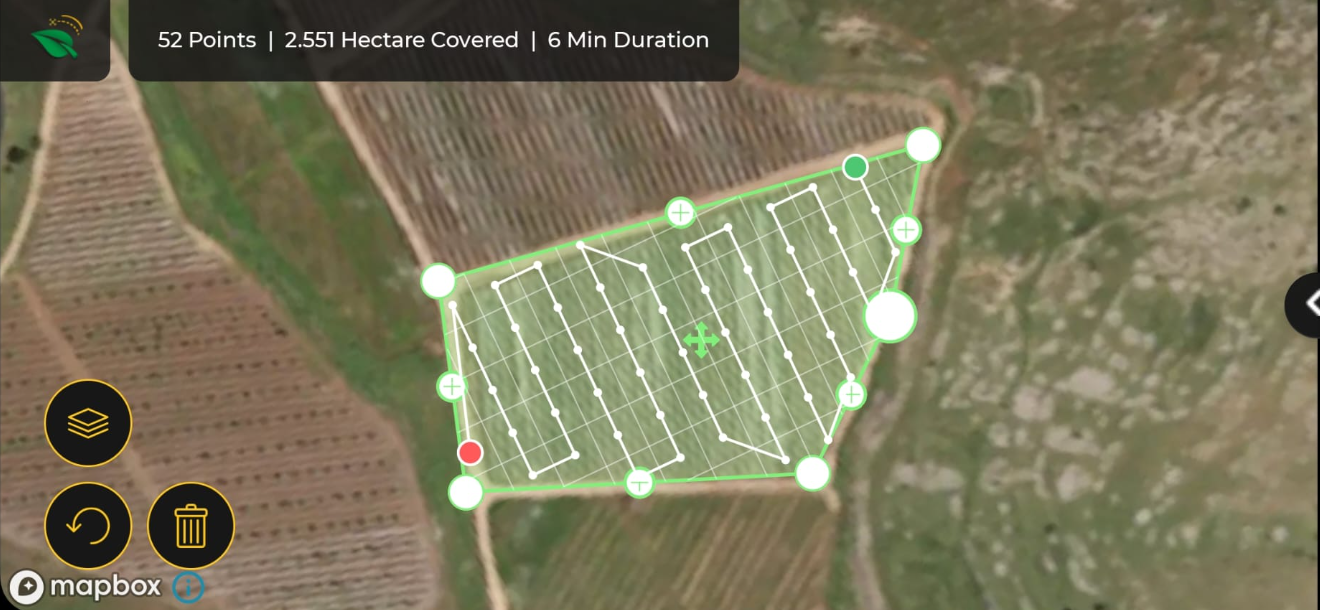
Statistically - The scouting polygon will be divided into equal squares based on the chosen area size. The drone will take one picture in the middle of each square. The benefit of this pattern is that it is a statistical representation of the entire field.
Pests corridor validation - The drone will fly on the chosen pathway and take pictures every 2 seconds. The benefit of that pattern is scouting for invading pests from the boundaries (like Colorado Potato Beetles) or scouting a specific row of interest.
Points of Interest (POI) - The drone will fly to a point chosen by the user and take images of those spots only. The benefit of that pattern is its time efficiency. The drone is scouting only points of interest rather than the entire field.
*POI Available only on Mavic 3 drones.
Note: Pest and disease missions are set to 2 meters above the canopy. Mature crops like corn and cotton should be taken from 4 meters.
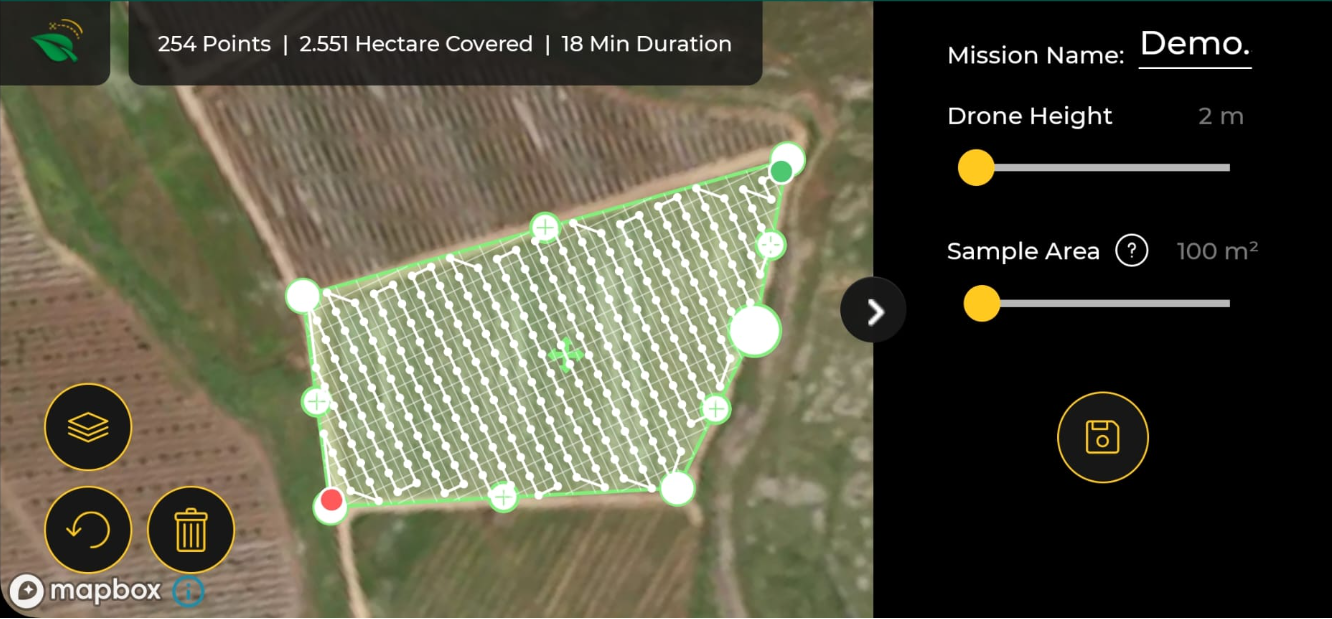
Statistically:
Enter the "Mission Plan" name.
Tip: Name it using the field name and pattern used when creating a new mission. Example: Potato221.pestsanddiseases.stat.
Finding this task in the "Existing Mission Plan" option will be much easier when you want to repeat it.

Adjust the "Sample Area Value." This option determines the square size of a sample photo.
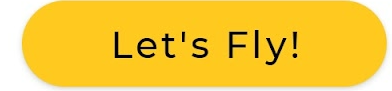
 Press the "Let's Fly!" button.

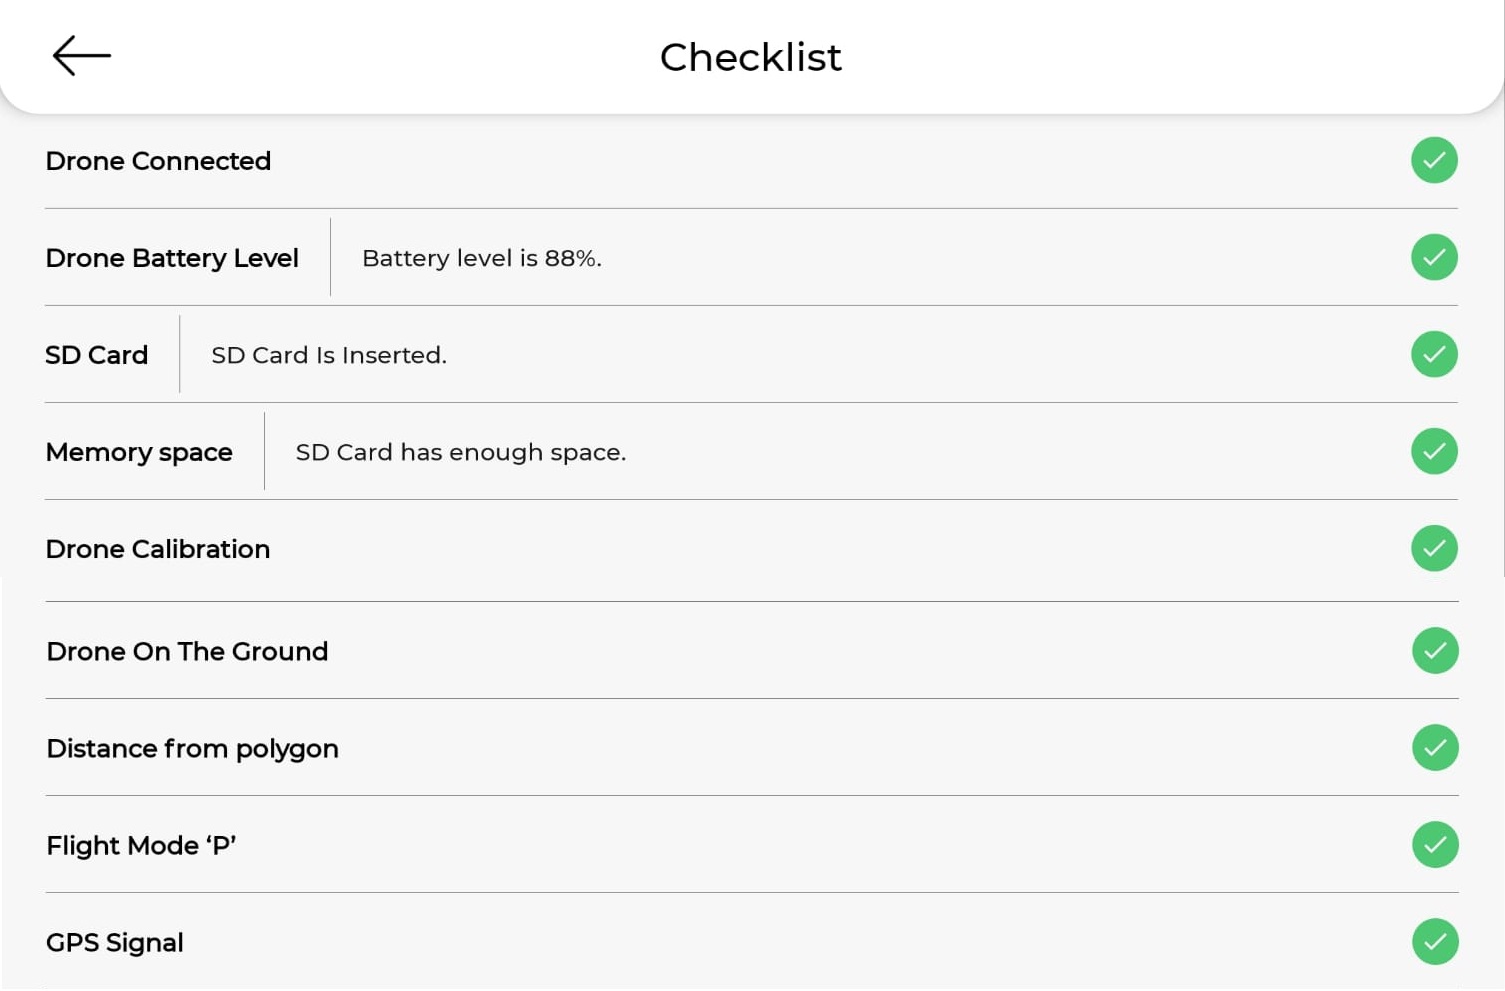
The pre-flight checklist will open. Make sure all checkboxes are marked with a green "✓. "
Press the "Let's Fly!" button.
Pests corridor validation:
Select the preferred scouting pattern
Enter the "Mission Plan" name.
Tip: Name it using the field name and pattern used when creating a new mission. Example: Potato221.pestsanddiseases.corridor
Finding this task in the "Existing Mission Plan" option will be much easier when you want to repeat it.

Tap on the map to mark linear points. The drone will fly the path and capture images along the way.

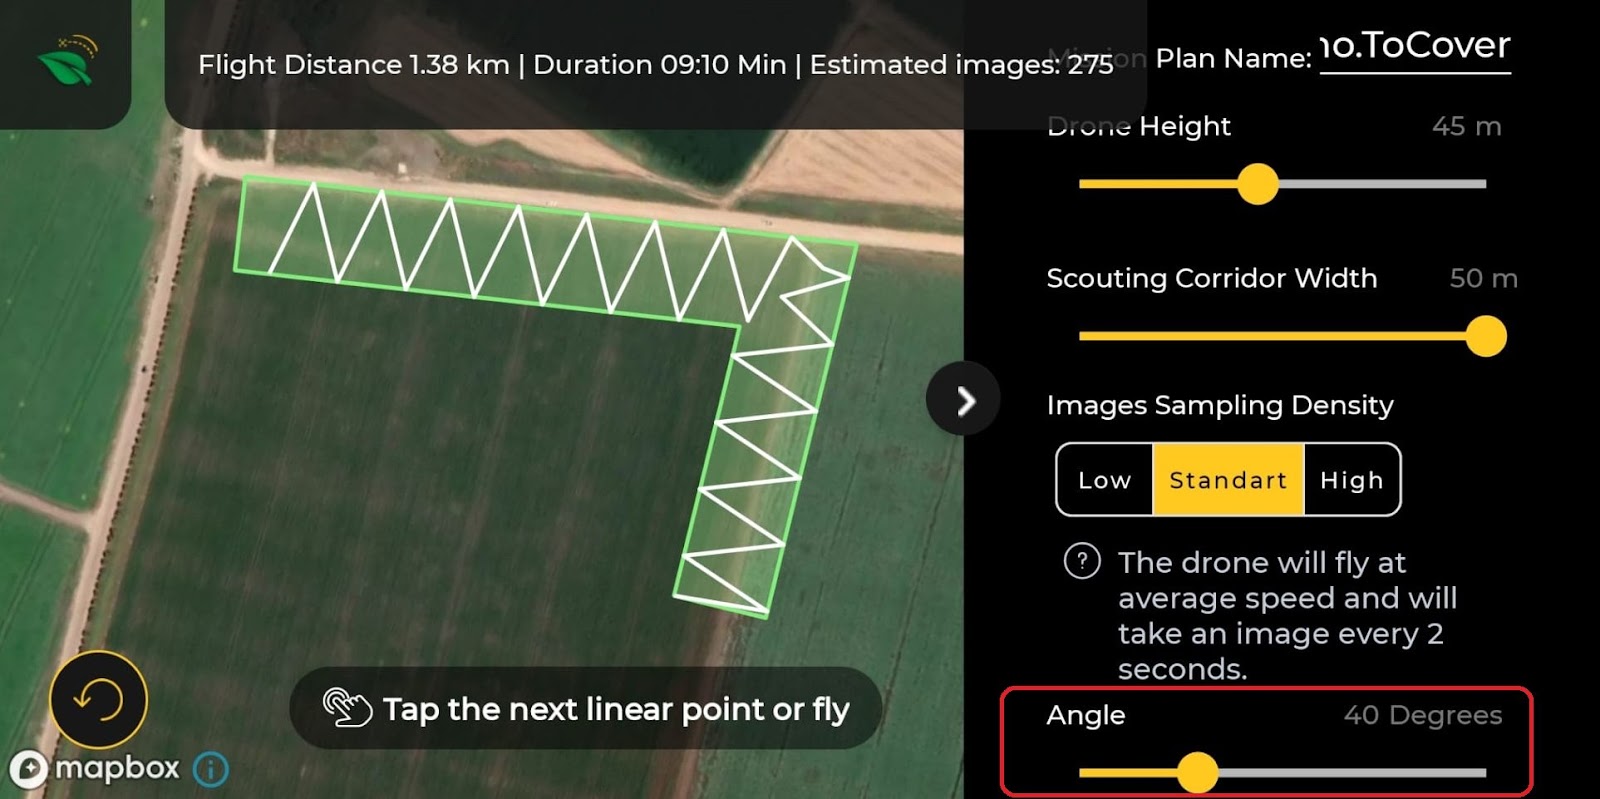
Adjust the Scouting Corridor Width
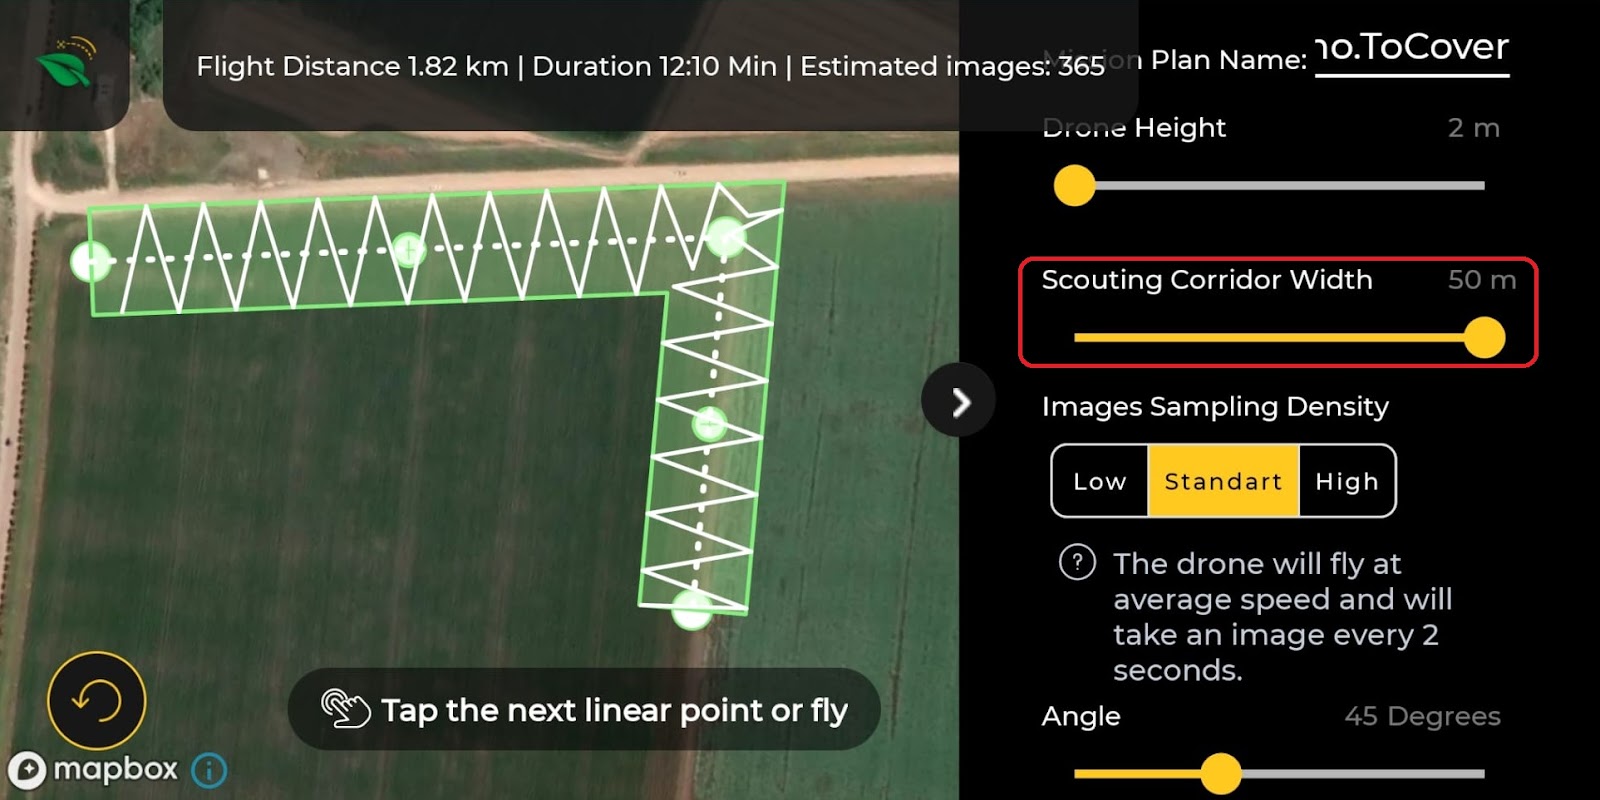
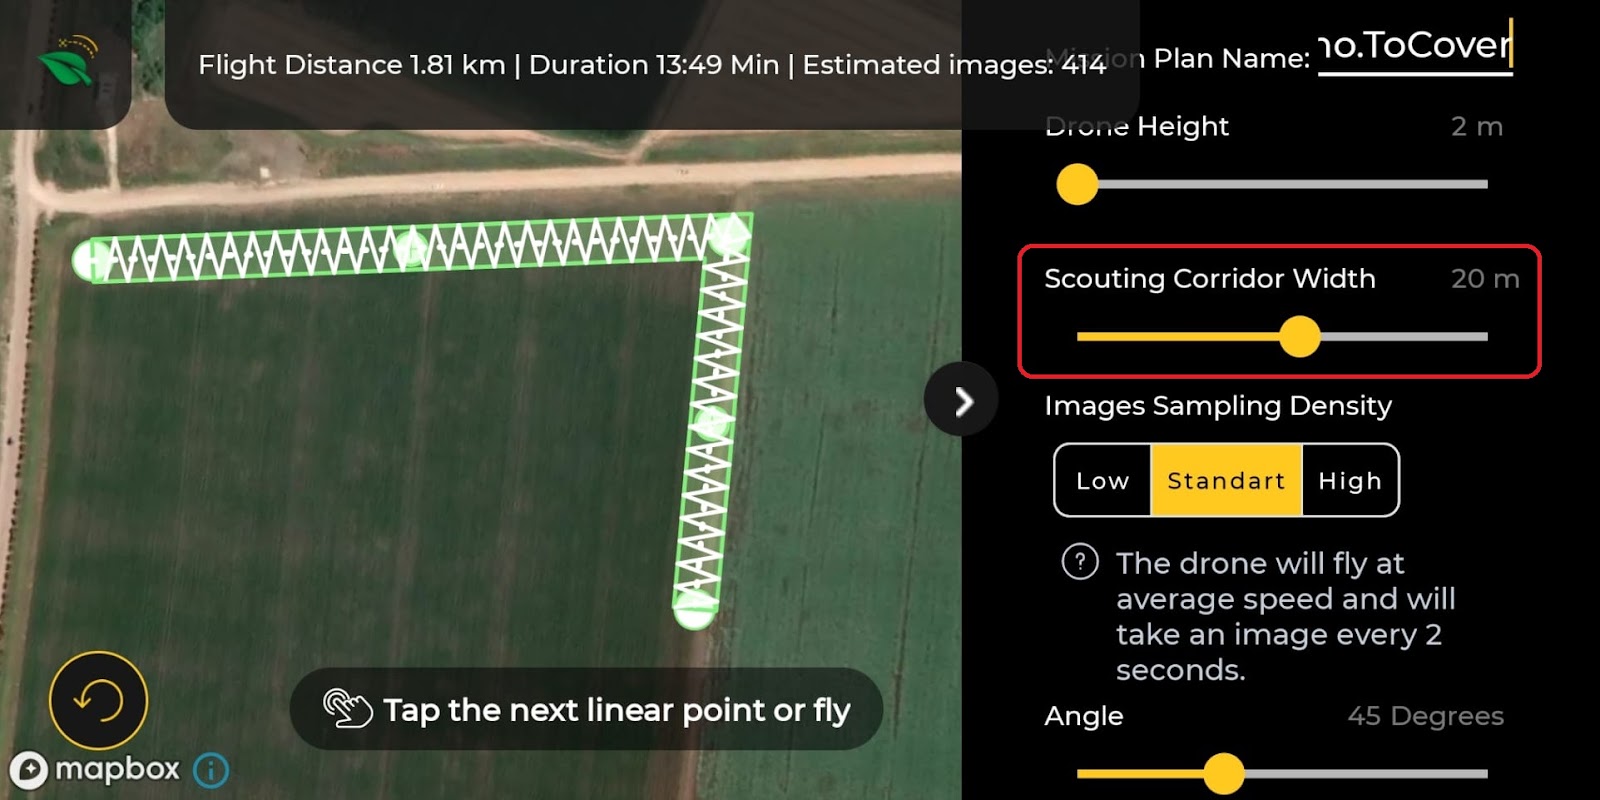
Adjust the image sampling Density. This option determines how many images will be taken for the marked area.

Adjust the Angle of the path inside the corridor
Press the "Let's Fly!" button.

The pre-flight checklist will open. Make sure all checkboxes are marked with a green "✓. "
Press the "Let's Fly!" button.
Points of Interest (POI)
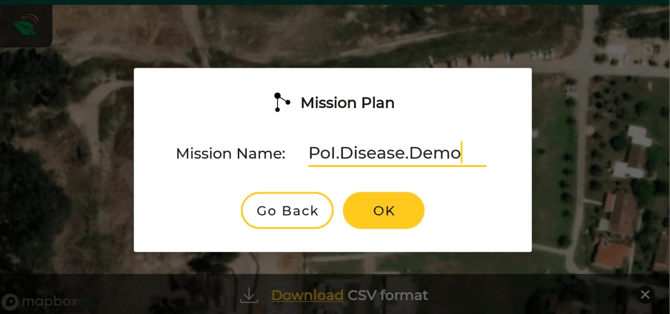
Enter the "Mission Plan" name.
Tip: Name it with the field name and pattern used when creating a new mission. Example: Potato221.pestsanddiseases.POI
Finding this task in the "Existing Mission Plan" option will be much easier when you want to repeat it.
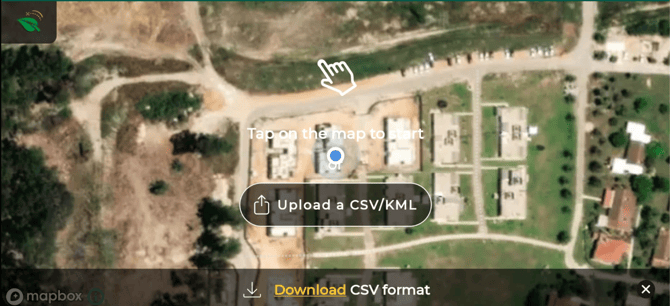
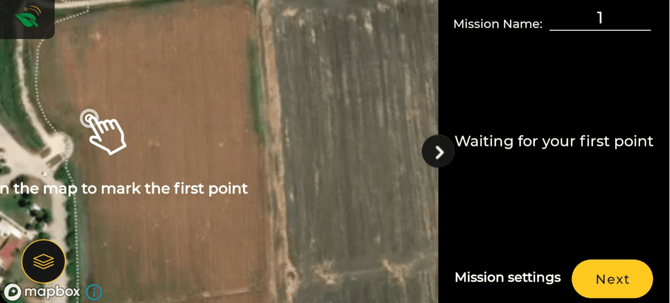
Tap on the map to start or Upload a CSV/KML.
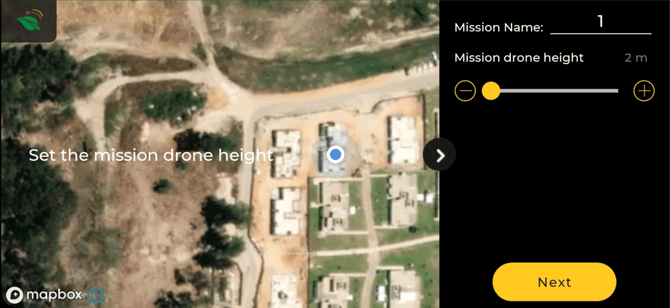
Set the drone height. For pests and diseases in most crops, 2 meters is the default.
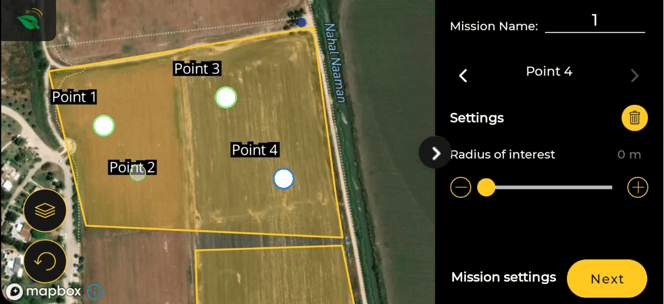
Tap on the map to mark your first point of interest.
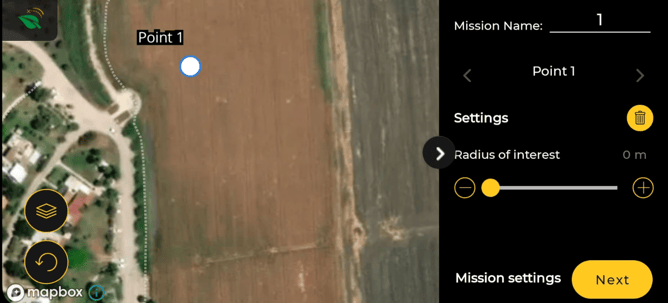
Adjust the radius of interest.
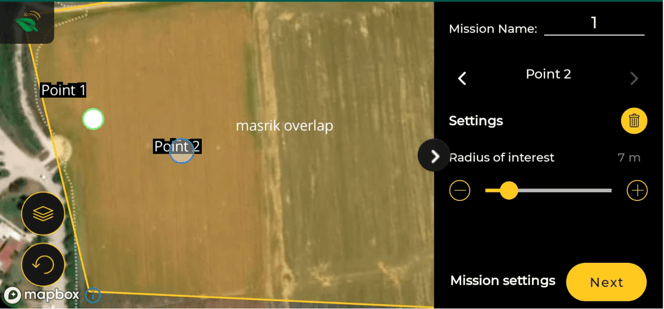
Tap on the map to locate the next points. Once you finish, press next.
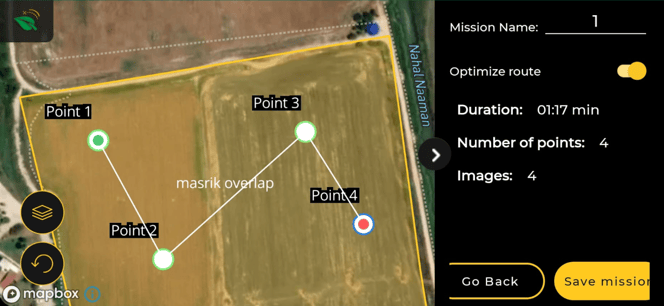
Check the mission information and press "Let's Fly".
The pre-flight checklist will open. Make sure all checkboxes are marked with a green "✓. "
Press the "Let's Fly!" button.
How to Make an Existing Mission?
How to Make a Canopy Coverage Mission?