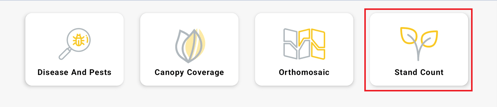
Select "Stand Count" mission.
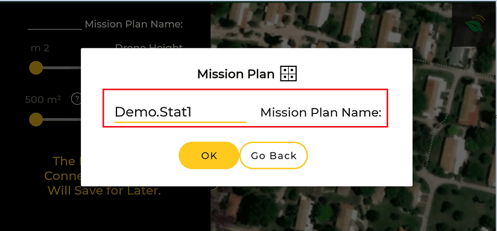
Type the "Mission Plan" name.
Tip: When creating a new mission, name the task by the field and the pattern
name. For example, Potato221.standcount.stat.
Finding it in the "Existing Mission Plan" option would be easier if you ever want to repeat that mission.
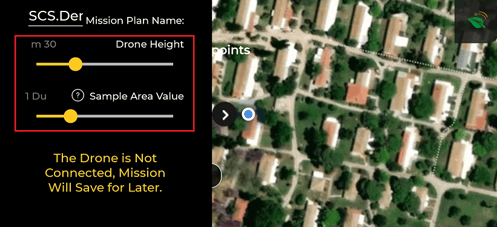
Adjust settings:
- Drone Height - Set the drone altitude by selecting the desired "Drone Height."
Crop Height (Meters) Potato 25 Tomato
1-2 Week
3-4 Week
15
25
Corn 15 Soybean 15 Onion 10 Cotton 15 - Adjust the "Sample Area Value." This option determines the square size of one sample picture.
Press the black arrow to minimize the setting bar.
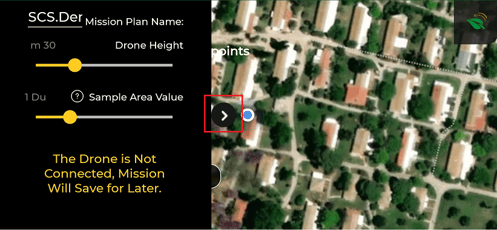
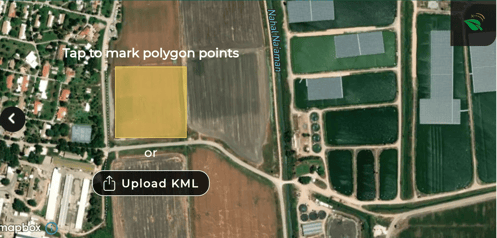
Drag the map on the screen and place the yellow square in the middle of your field. Then, please tap on the yellow square to paste it on the map.
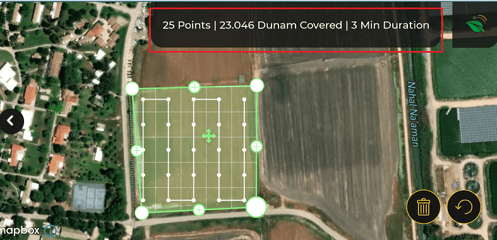
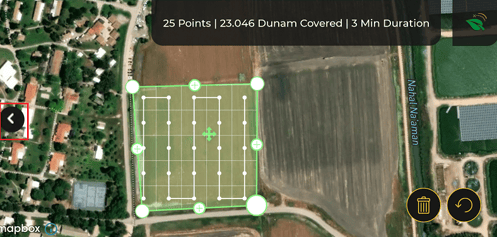
The field will be divided into sample squares, and the drone will take one photo from each. On the top screen, you can see the number of photos (points) and the duration time of the mission.
Press on the black arrow to open the right bar.
Press on the "Let's Fly" button.

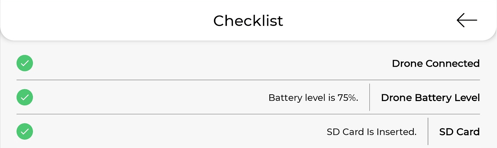
The pre-flight Checklist will open. Make sure all the checkboxes are marked with green V.


Press on the "Let's Fly" button.

How to open an existing mission plan?
How to Make a Canopy Coverage Mission?