Login to AgroScout Web Platform using your username and password at https://app.agro-scout.com/
Please note that your user name can not be your email address, and the password is case-sensitive.
For the best user experience, please open the Web Platform using the Google Chrome browser.
TABLE OF CONTENTS
Creating fields
If that's you're first time uploading images from a field, you need to create a field on the web platform.
This is a simple and easy process and only needs to be done once for each field.
1. Zoom in to your field area and then click the Create Field button

2. Draw your field
At the left side of the screen, draw a polygon covering your field.
If needed, you can adjust the field shape by dragging the corners of the polygon.
Click the "Next" button at the bottom to confirm.

3. Enter the field details
A field details screen will pop up.
Enter the field name and select the related farm.
Press "Next" to continue.

4. Enter the season details
Sowing date and Crop is obligatory, but we highly recommend entering all details for best data interpretation. Click "Next" to continue.

5. Add Permissions
Invite users, like crop advisors, outside of your farm team and share your results.
The farm team will have automatic permission for every new field you create (see "Existing Users"). Click "Done" to continue.

6. The created field will be marked in green.

7. clicking the green polygon will let you change the field details and edit the polygon.
Can't see the field you've just created? Try to clear your web browser cache and cookies or log in from an incognito window in your browser (CTRL+SHIFT+N).
Uploading Images
Please make sure you've created a field and have a green polygon covering your field area before uploading images that you took from that field.
A stable high-speed wired internet connection to your computer is highly recommended for the uploading process
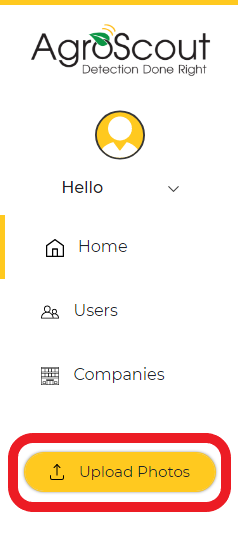
1. Click the upload button on the left side of the screen to upload your images:
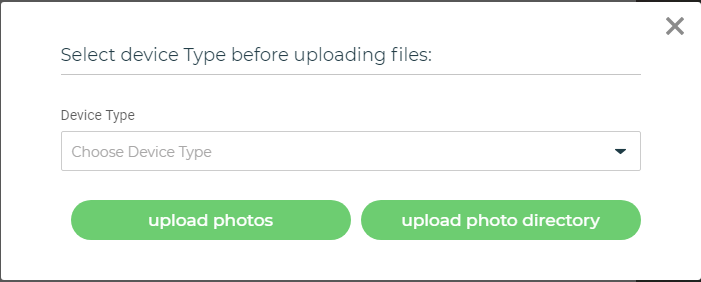
2. Open the dropdown list and select the device you took the images with.
Click the Upload button to upload images or select Upload directory for uploading a whole folder of images.
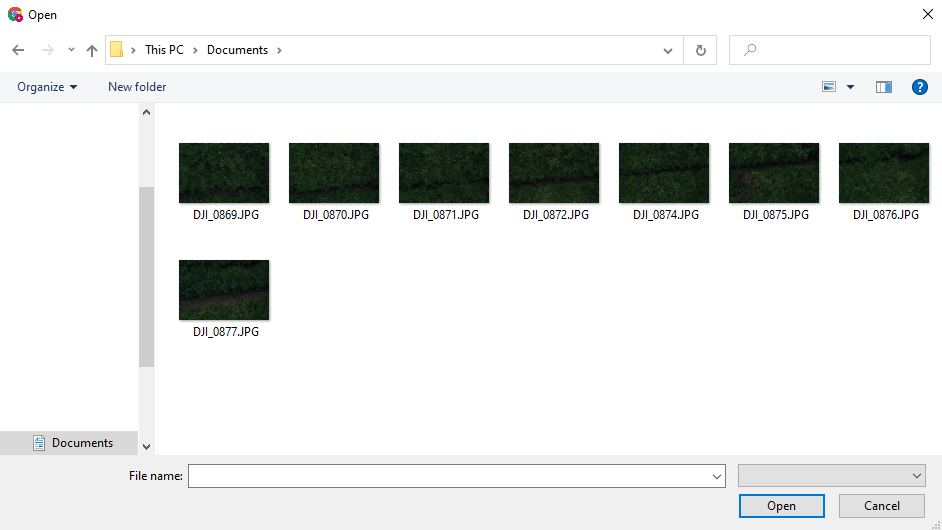
3. If you clicked on the "upload images" button, navigate to the folder that contains the images, select and open them.
If you clicked on "upload directory", navigate inside the folder of the images and click "open". (if you don't see any images inside the folder that's fine).
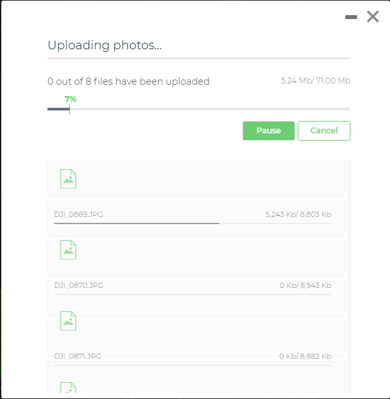
4. The uploading process will begin and you will get a message on screen when it's finished.
After the upload is finished, it might take a while till you can see the images on the map.
While the images are uploaded, please keep the uploading window open and make sure to disable auto-sleep mode in windows.
Are you uploading a lot of images and want to speed up the uploading process? See our Image Compression Tutorial
Viewing options and using the filter
When you log in to the Web Platform you're able to view your fields and images.
By default, you will see images with detections from the last week.
If you would like to change that, click "All" on the top left side of the screen to see all image.
You can also switch between 1 Day, 1 Week or 2 Weeks ago.
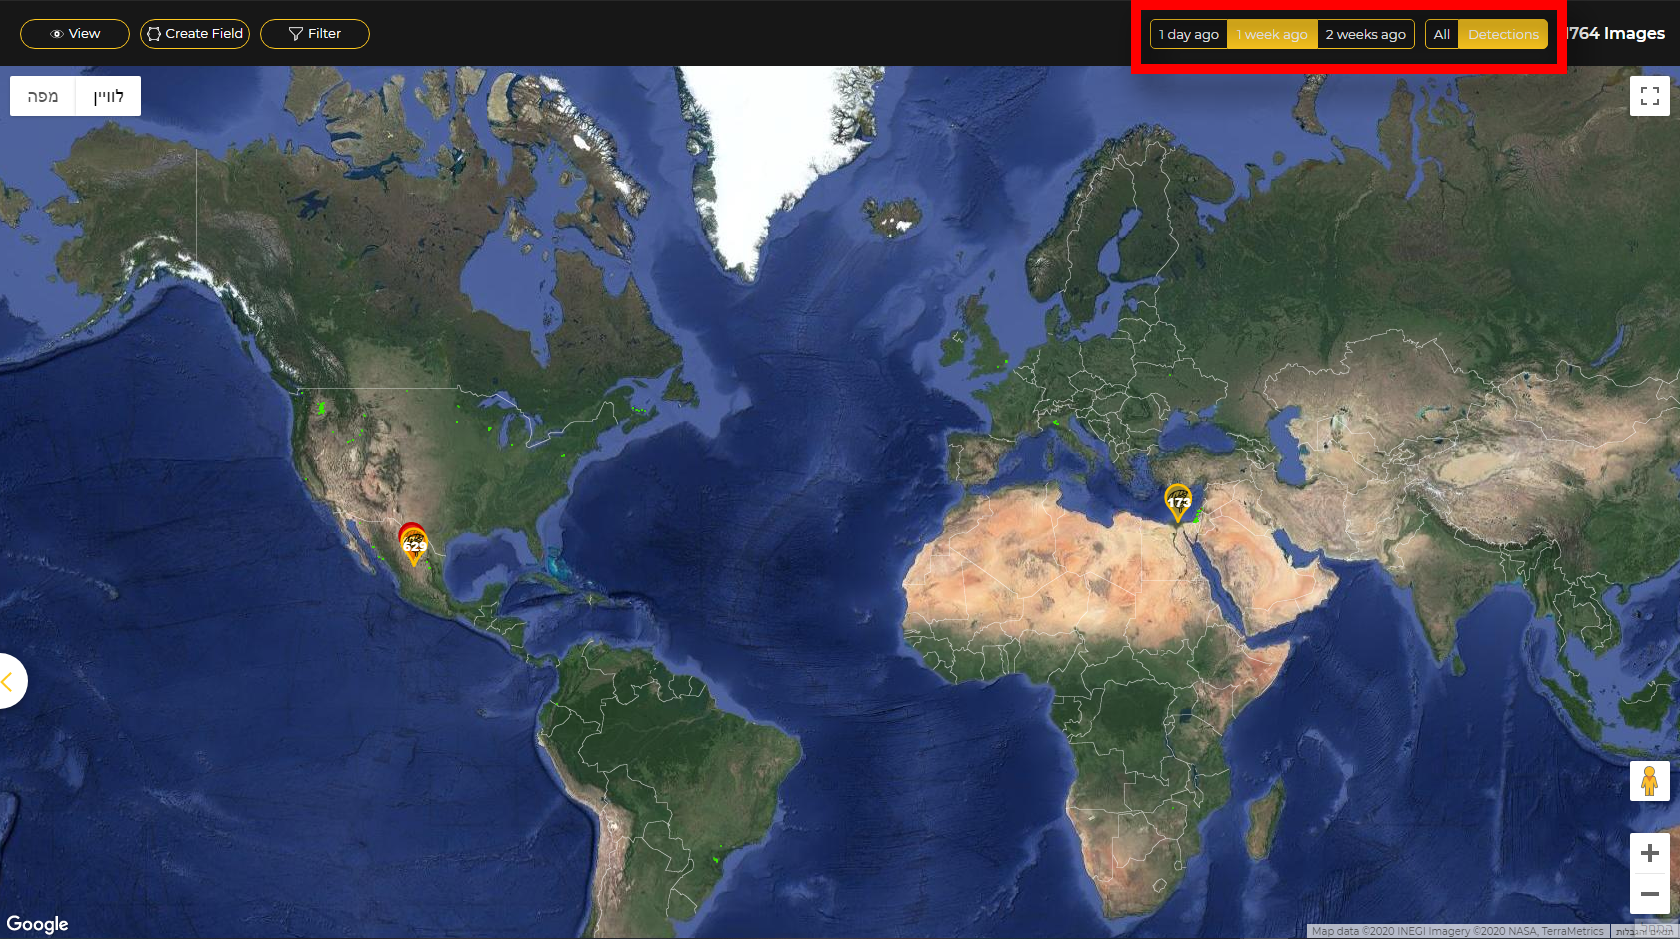
Each field that has images will show on the map with a mark, including the number of images from that field:
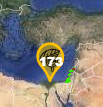
Clicking on that mark will take you straight to the field so you can see the images.
Alternatively, you can zoon-in the map manually to get to the field.
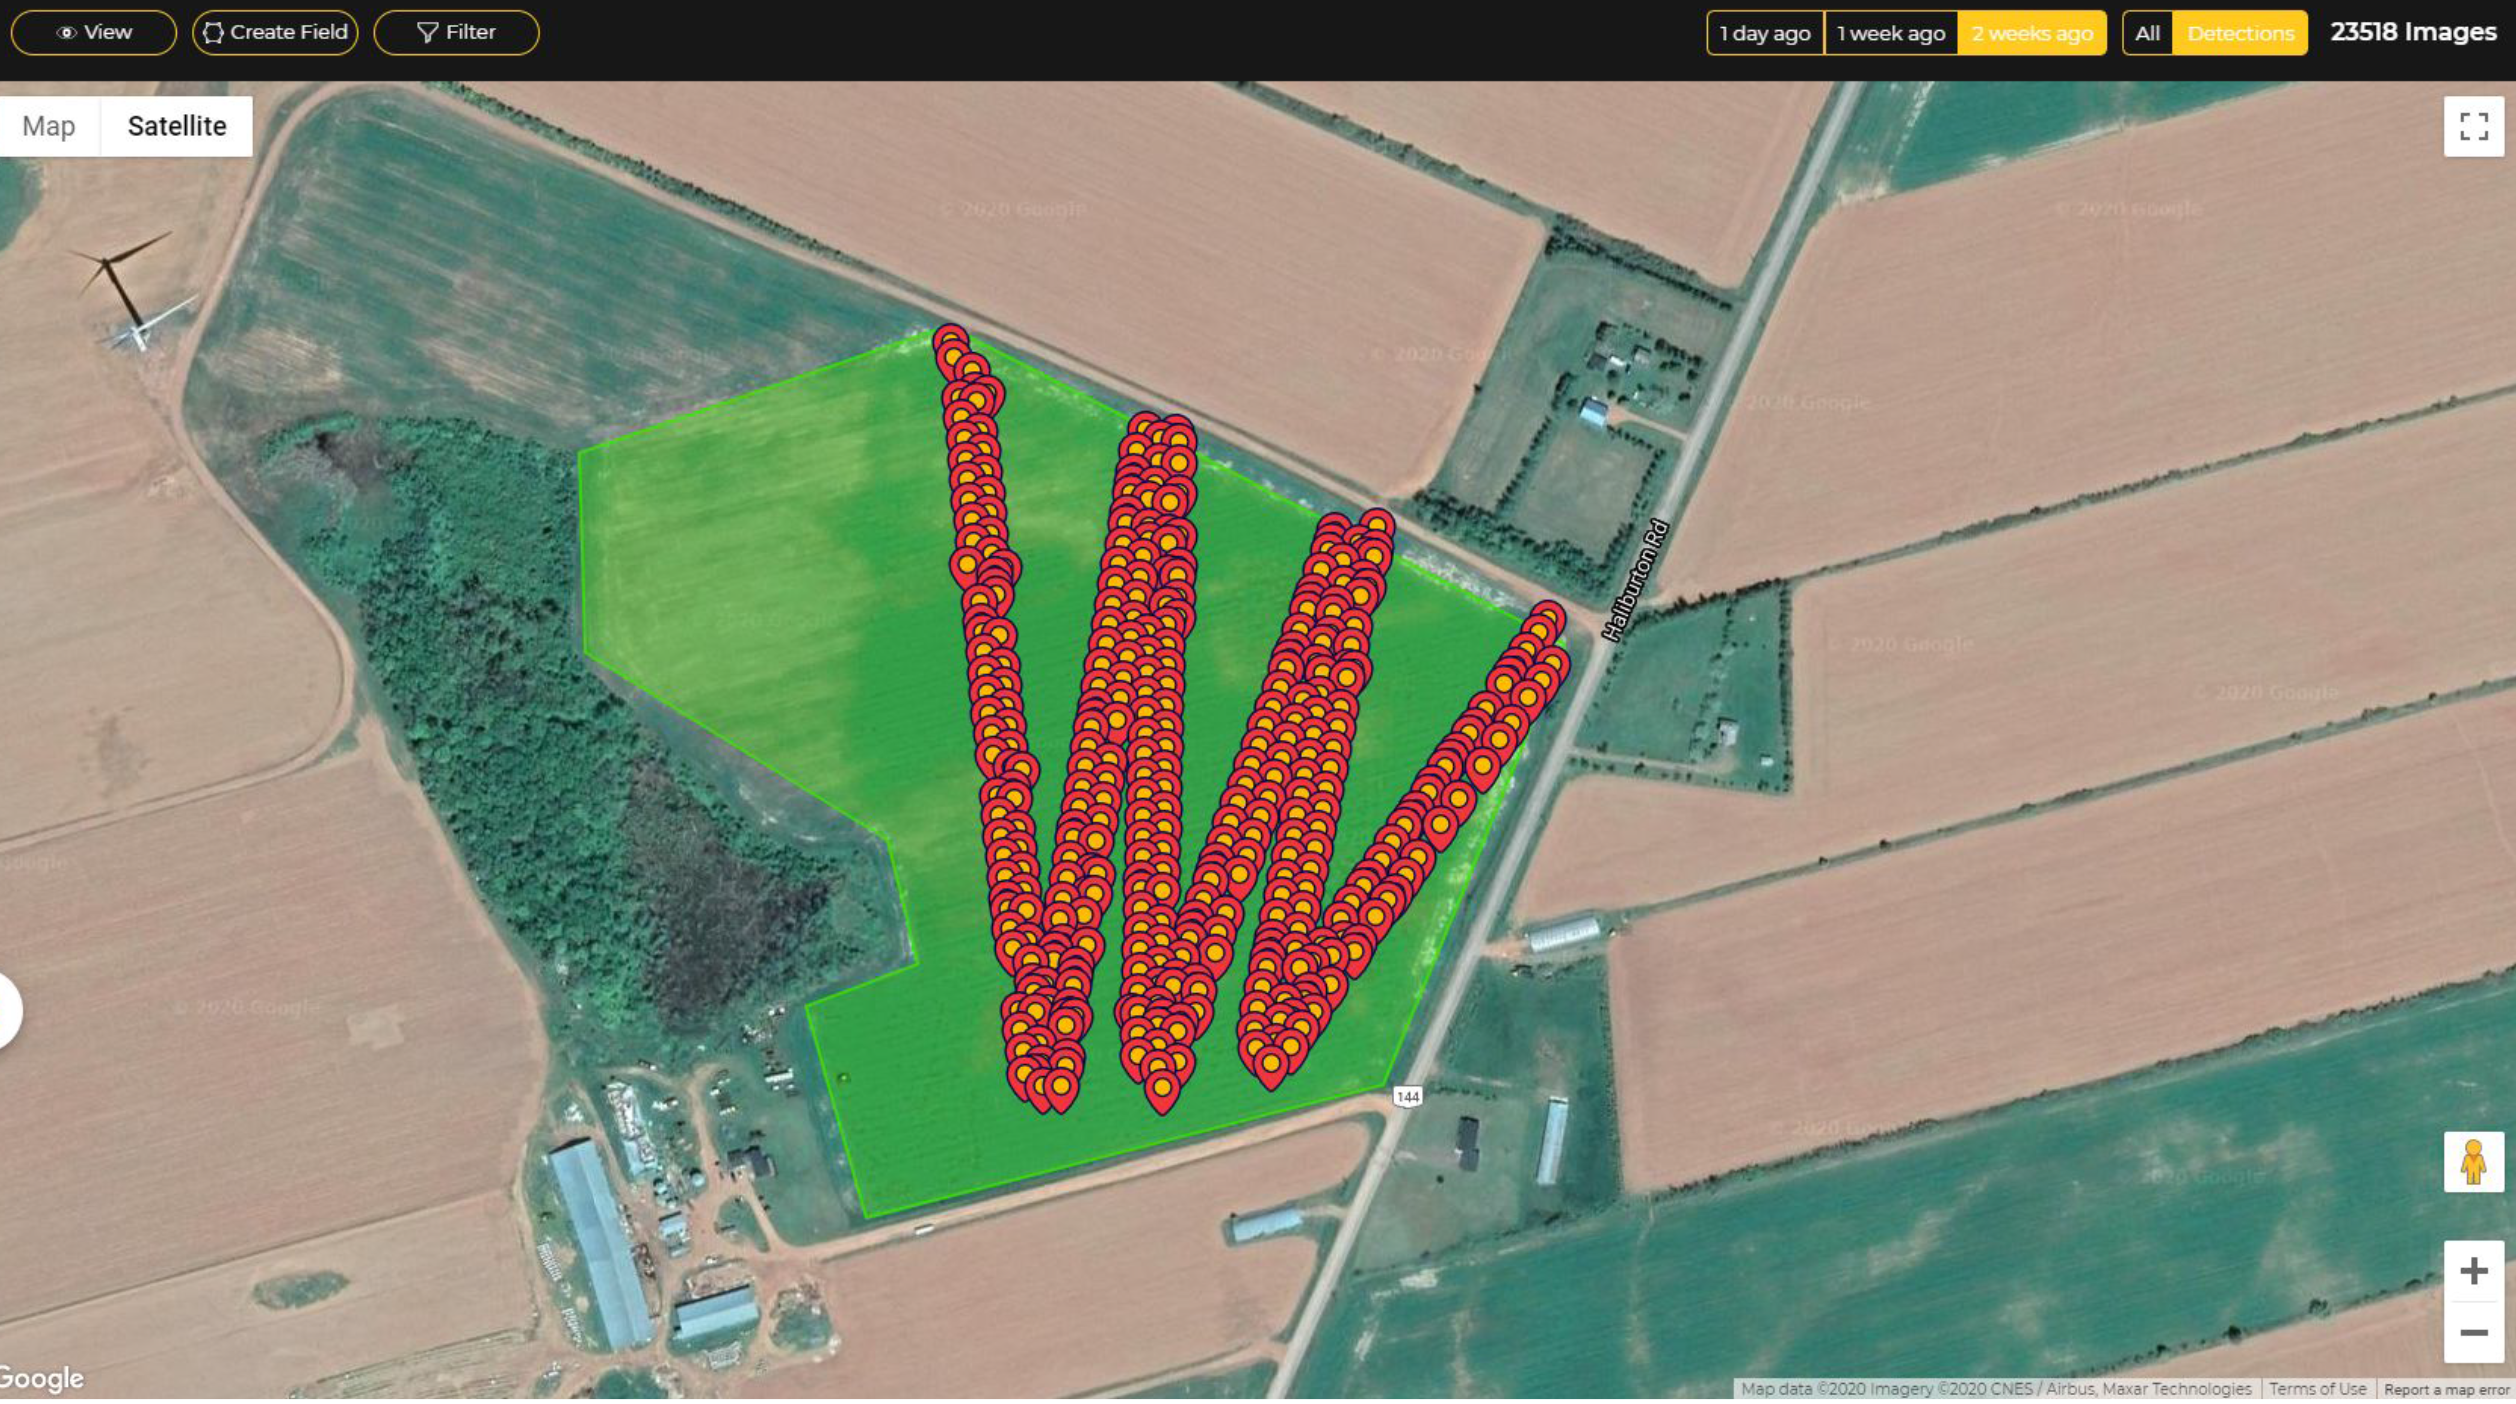
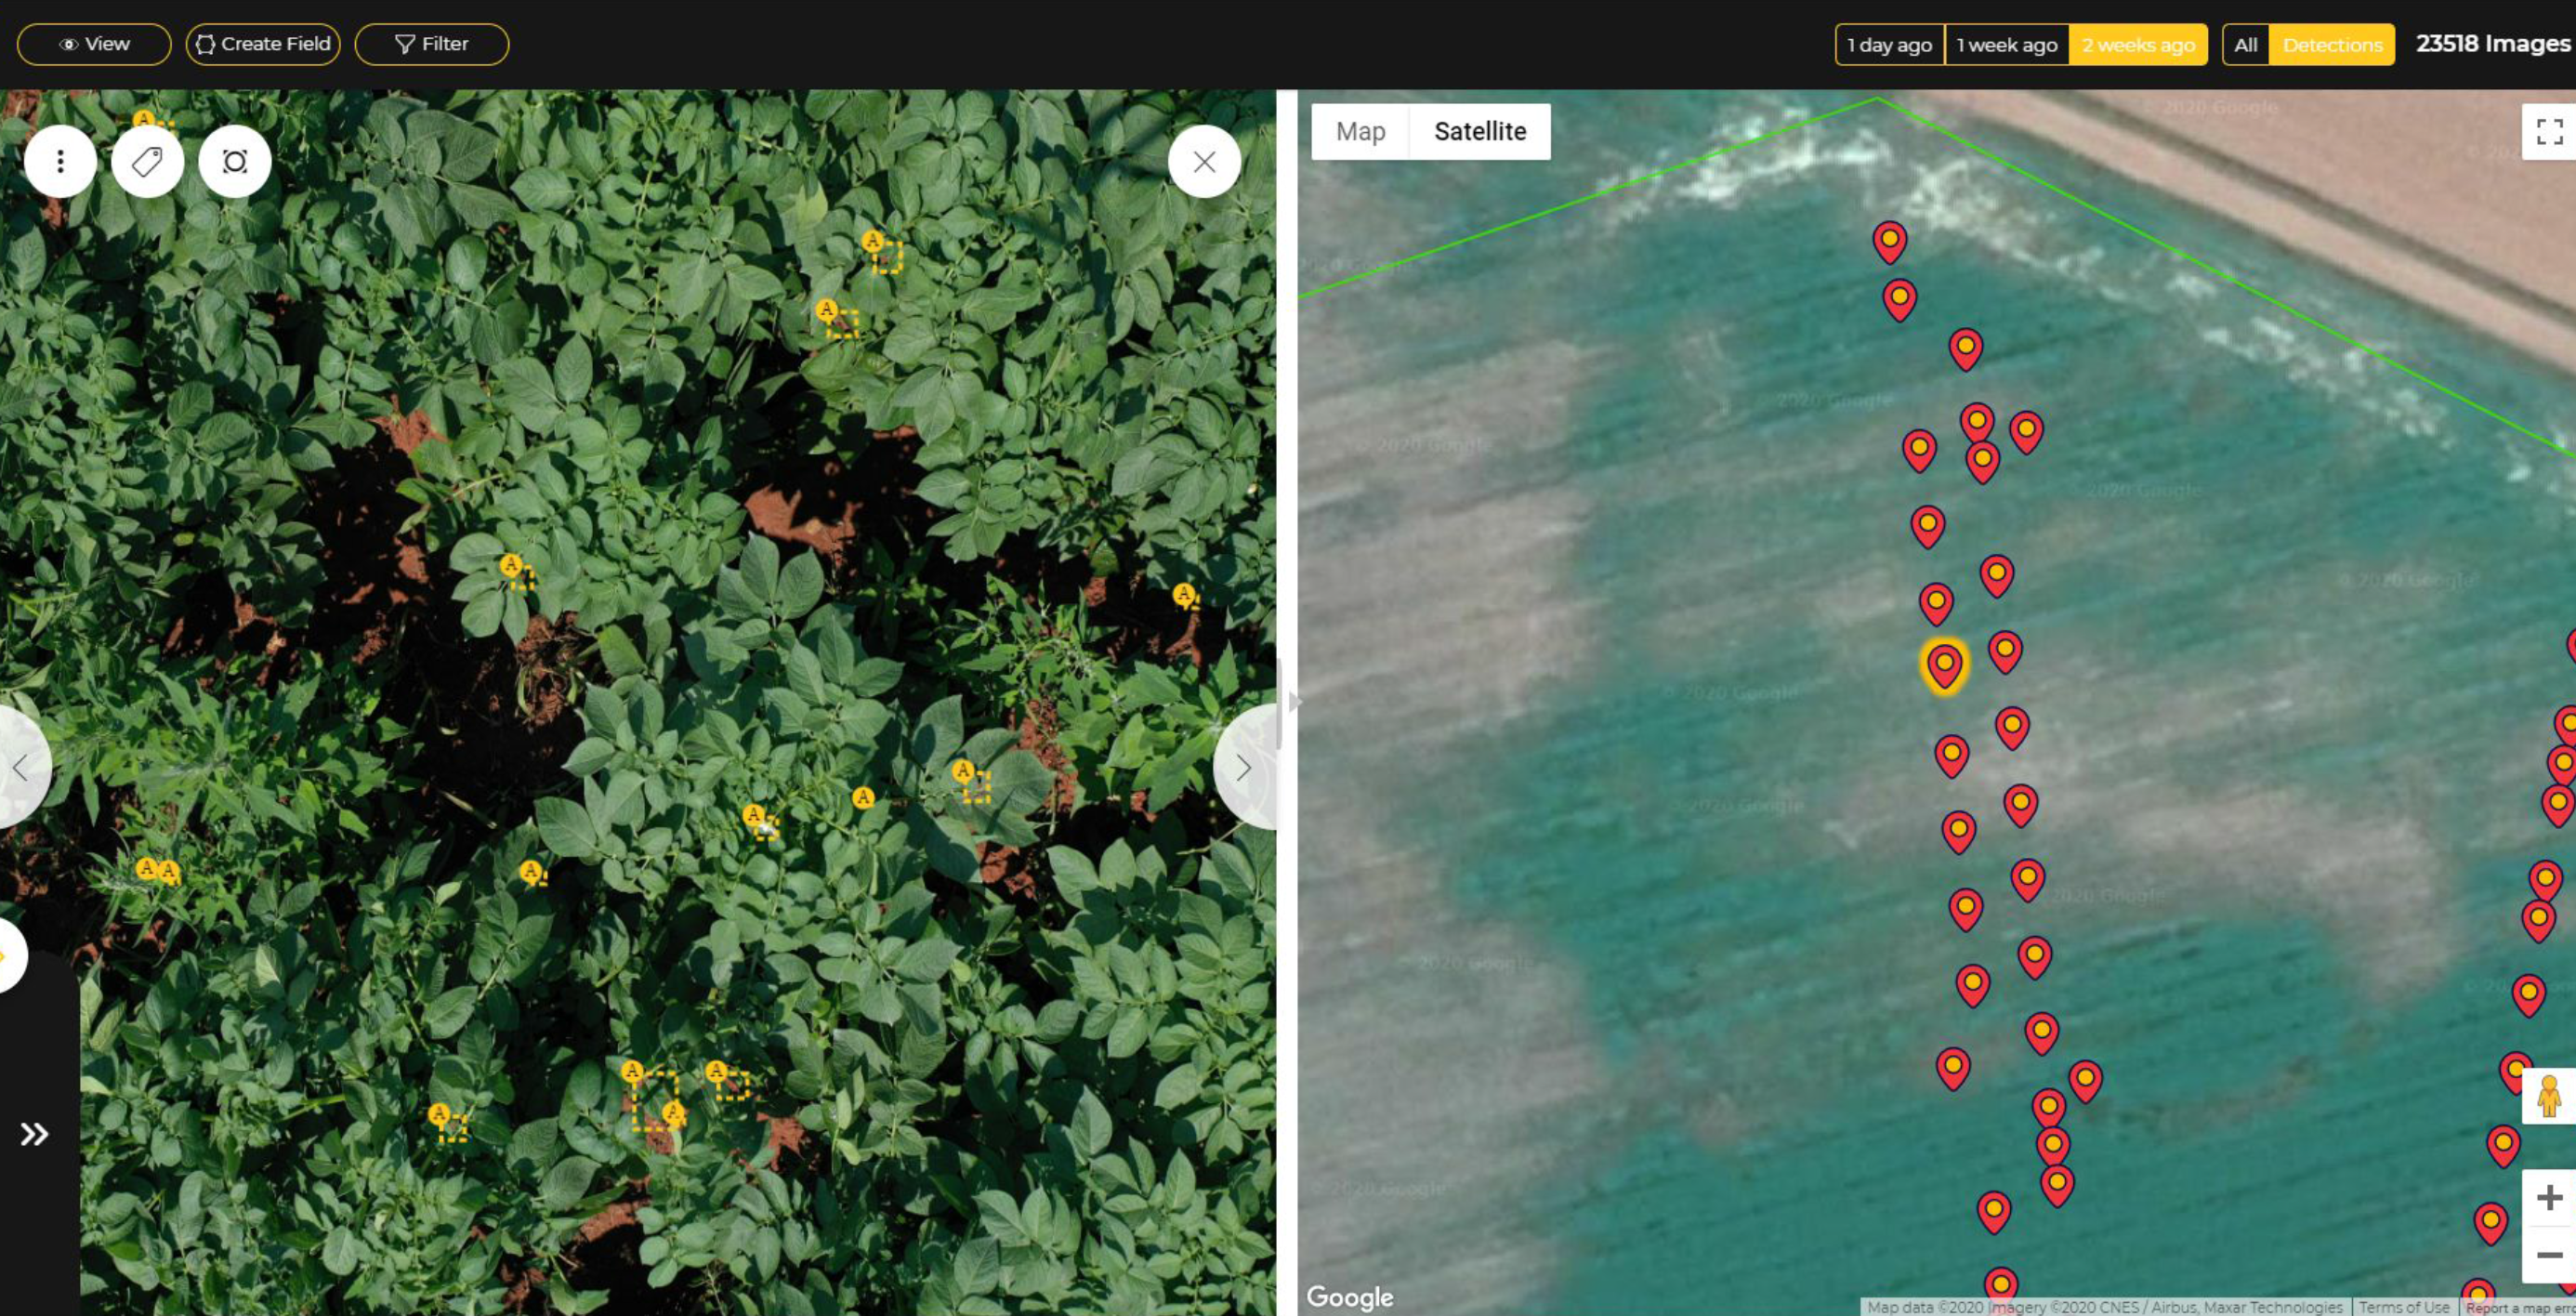
Each mark is an image. Clicking on it will open the image.
You can zoom in using your mouse scroll wheel and hold and drag to move around the image.
You can view the finding information by clicking on the detection yellow frame.
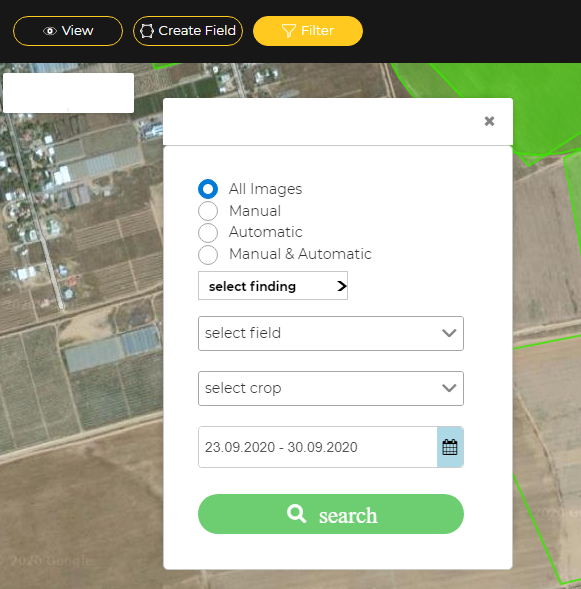
For more advanced search options, you can use the filter.
Open the filter settings by clicking on the Filter button at the top left side of the screen.
You can filter images by specific findings, fields and crops and set a range of dates as well.
Check our Video Tutorials as well! 